Bladed Scarf Joint with Tenons
Part II: the Mortise.
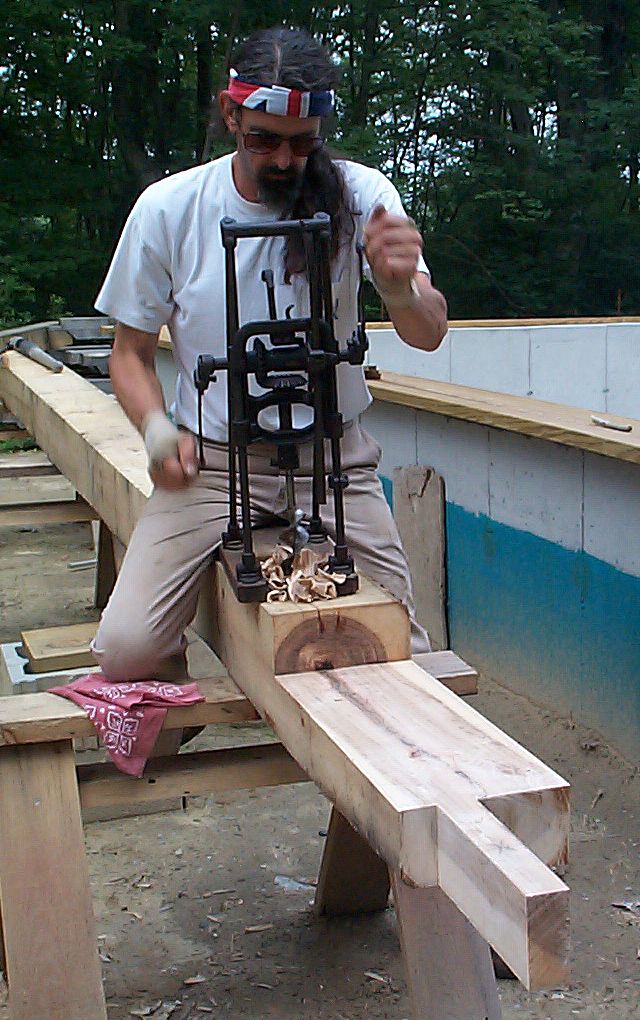 After laying out and scoring the lines for my mortice, I carefully selected my sharpest 2" bit and mounted it on my trusty Millers Falls boring machine. This was my first experiance boring into hickory as well as the first time using a 2" bit on a hardwood. The bit performed remarkably well, I'd have to say that this bit cut through 4" of hickory faster than my 1-1/2" bit cut through 3" of maple (did I tell you what the sharpening guy did to my 1-1/2"bit? ... I will).
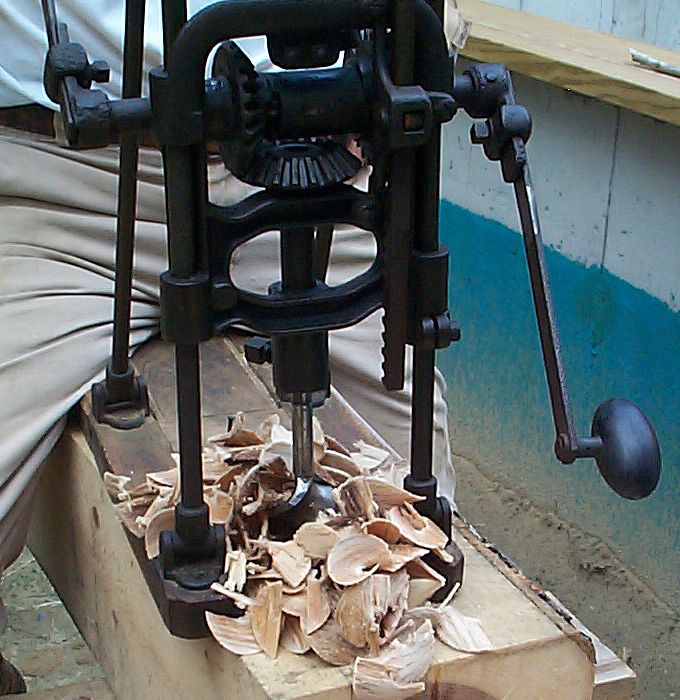
Snack food for really big termites; I wonder what they want for dip?
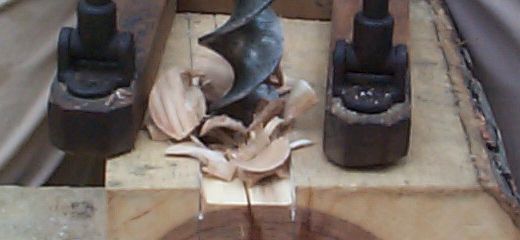
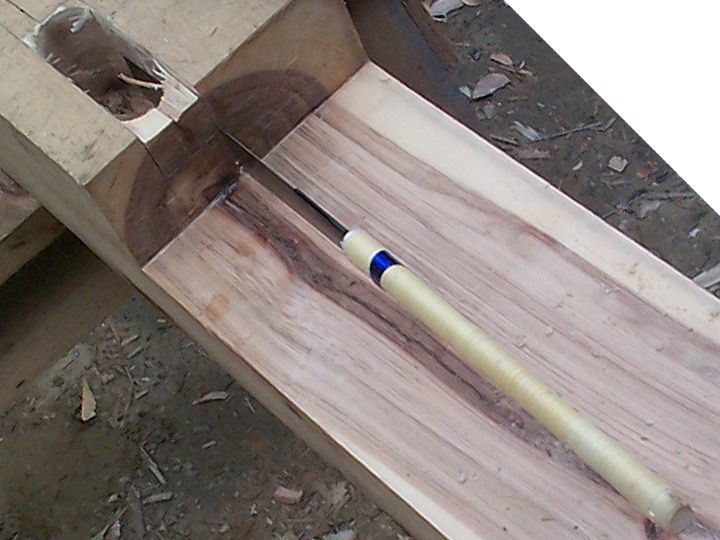
Here you see my solution to a bit tracking problem; the problem was the lead screw on the bit kept slipping sideways into a crack that has developed in the timber. The bit is exactly 2" wide so it's most important that it starts perfectly centered in this 2" mortice. I sawed down the sides of the mortise and pared out material to a point where the crack was nearest the center and the sides lock the bit into proper alignment.
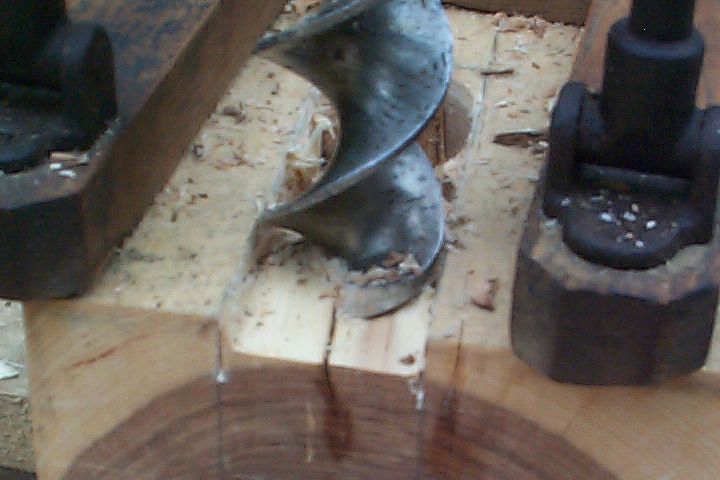
Starting the third hole.
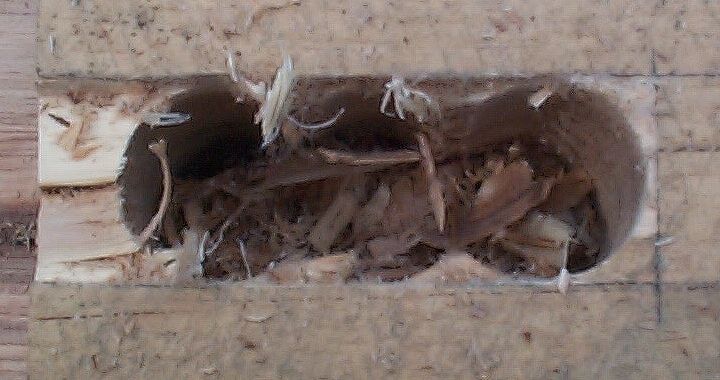
My three holes. This shows the layout lines and the benefits of scoring the lines prior to drilling. The fibers torn out by the drill all stop cleanly at the line.
After cleaning up the sides of the mortice I saw down the line with the japanese ripsaw to free the last plug of material.

All saw cuts are done and it's time for the chisel.
Here are the completed mortise, blade and tenon in their "final form".
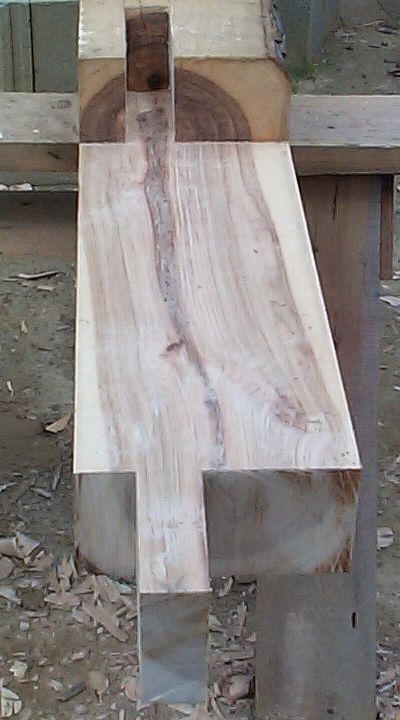
Final form is a relative term, this will depend on how well I cut the opposite member.
(home)